This is for my brother and the recipe is from my mom.
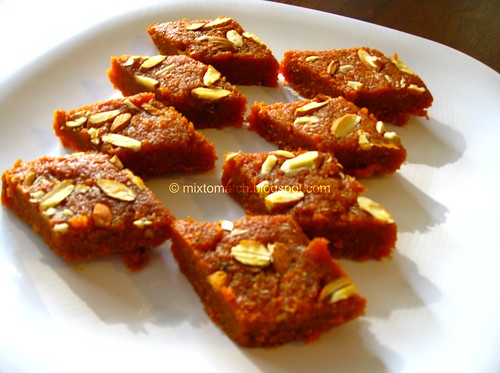
My mom is one of the best, no... "the" best cook I have ever known. If cooking comes naturally to me, it is probably because of her. And her desserts!... they are to die for!
Especially now that I cook quite a bit (and get to eat just what I cook), I do miss her food a lot. I am a reasonable cook, but somehow cooking for oneself can be quite, Ahem... boring at times.
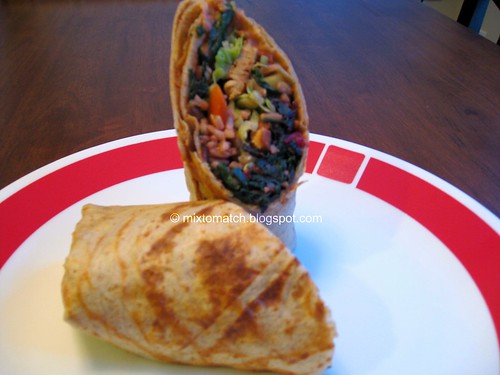
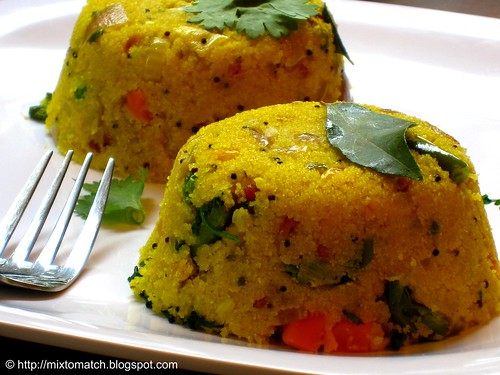
Kichdi is a pretty traditional Indian dish, and is basically a jazzed up version of the humble Upma. The fragrant spices and the array of vegetables kicks it up a notch.
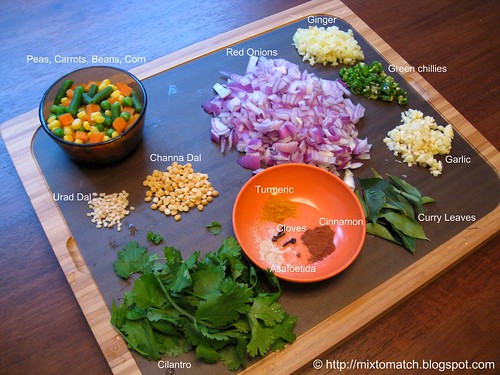
Since this recipe calls for a variety of ingredients, some of which you may or may not be familiar with, I did a picture representation of the most important ingredients this time for easy understanding. (Check list in the recipe section below)
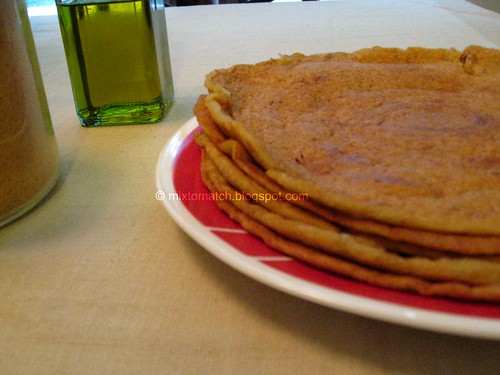
I made peanut chutney to go along with it, but really any kind of
chutney goes well.
Rava/Semolina/Sooji varies from place to place and the water that it can absorb while it cooks also varies. So please adjust the water content accordingly. Check recipe for more info.
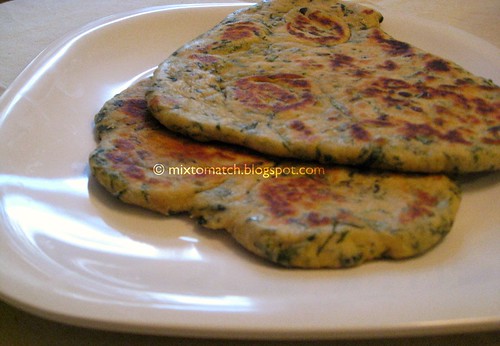
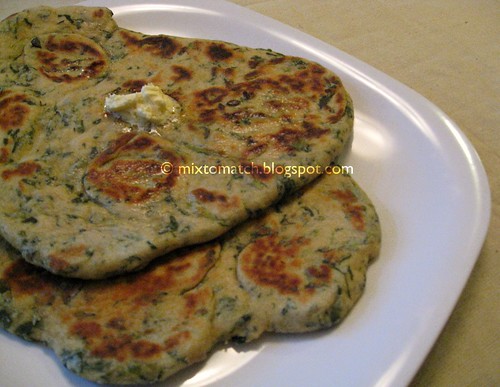
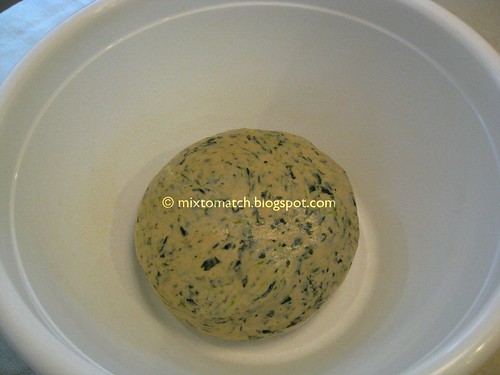
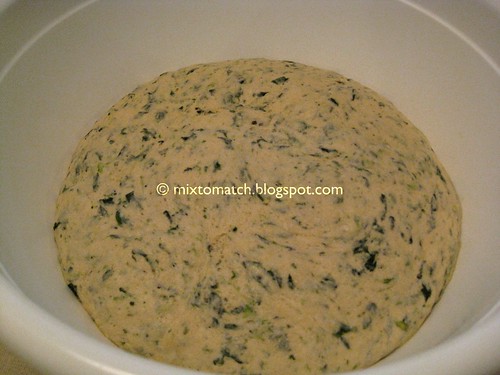
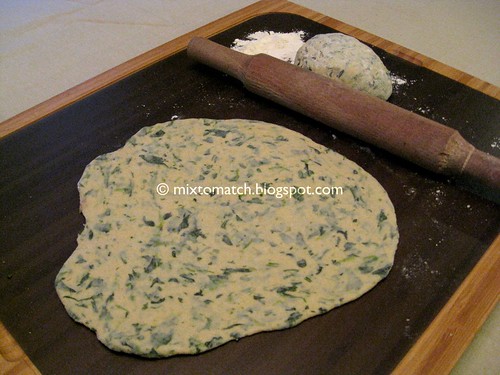
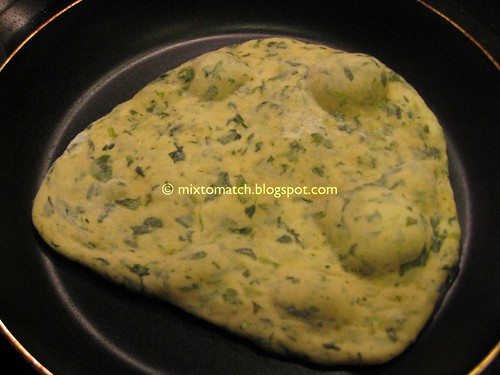
Off topic, I promised one of my readers a Naan/Flatbread recipe this week, a variation from the one I made
earlier but had to put that on hold for this one. I will shortly post that one too. Sorry!
This kichdi has a pretty long ingredient list, so hang in there.
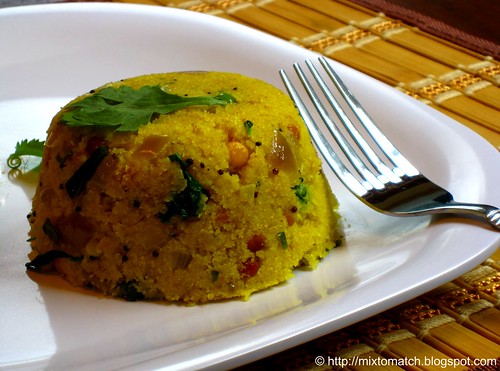 Savory Semolina Kichdi with Vegetables
Ingredients:
Semolina/Rava/Sooji - 3 cups
Water - 4 cups (I used less water, since I do not like it to be gooey, but if you like a more binding kichdi, please add 1 cup or more of water, which would make it 5 cups)
Carrots - 1/4 cup diced
Peas - 1/4 cup
Beans - 1/4 cup cut into small pieces
Corn - 1/4 cup (optional, you may increase/decrease other veggies as you like)
Red onion - 2 cups diced
Tomatoes - 3/4 cup diced (I omitted this, since I do not like tomatoes in my kichdi)
Green chillies - 2 tbsp chopped
Ginger - 2 tbsp chopped
Garlic - 2 tbsp chopped
Pepper - 1/4 tsp
Cloves - 3
Cinnamon stick or powder - 1/4 tsp
Asafoetida - Two pinches
Turmeric - 1 tsp
Lemon juice - 2 tbsp
Cilantro/Coriander - A handful
Curry leaves - A few
Mustard seeds - 1 tbsp
Urad Dal - 1 tbsp
Channa Dal - 2 tbsp
Salt - To taste
Cashewnuts - A handful
Oil/Butter - 4 tbsp (I used Extra Virgin Olive oil)
Method:
Dry roast the semolina/rava till it is lightly toasted and set aside.
In a pot/pan (which has a lid for later use), heat the oil and add mustard seeds, let them splutter, add urad dal and channa dal and dry them on medium heat.
Add the cashews and saute well (You may roast them separately and add them at the end as garnish too, it remains crunchy that way, I kinda like mine blended into the dish). Take care not to burn them. Add cloves.
Then add the ginger, garlic, curry leaves, cinnamon, turmeric, green chillies, asafoetida, salt and pepper and roast.
Toss in the red onion and cook till lightly browned.
Now, mix the vegetables, tomatoes (if you like), turmeric and cook halfway. It will continue to cook after we add water. So do not over cook them now.
Add the water and cover and let it come to a boil.
Remove lid, reduce the heat to medium, add the semolina/rava slowly in a stream but keep mixing with your other hand continuously. Or else it will form clumps.
Cover immediately and let it cook on low-medium heat for 5 minutes.
Uncover, add the chopped cilantro, lemon juice and a wee bit of butter, mix well and serve.
Chutneys go great as a side for this dish. Get your pick
here.

This dish goes to Sangeeth's
Eat Healthy - During Pregnancy event