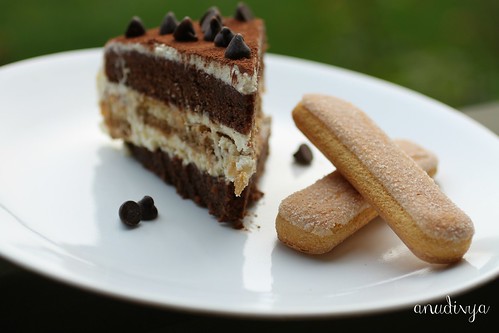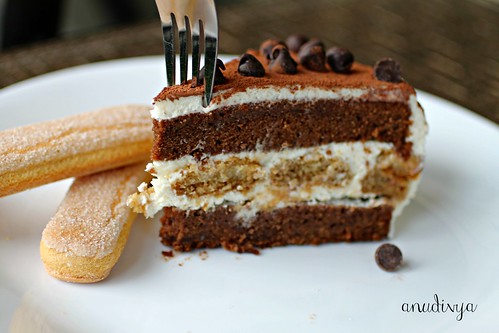
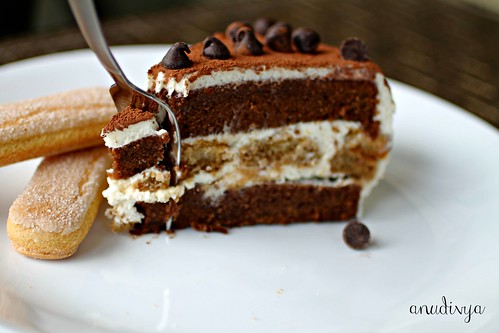
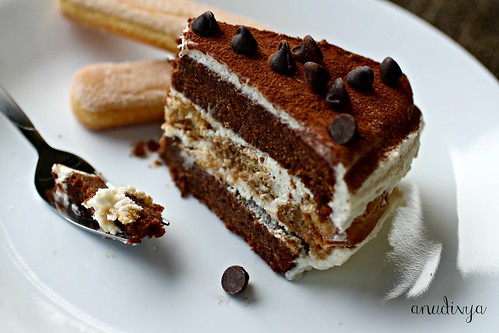
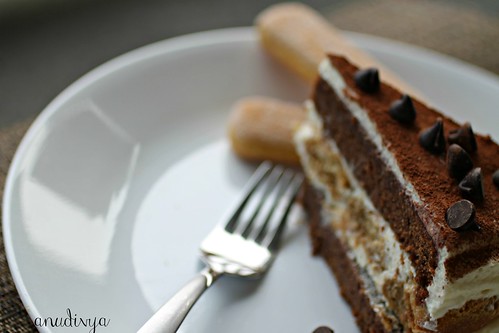
I got a slice of Tiramisu cake from the local French Bakery on a day out with my little girl, we shared that single slice happily one evening never realizing that we would have a whole cake all to ourselves the very next day. I couldn't resist recreating it at home. I made the 2 layers of cake with whole wheat flour, layered with one layer of lady fingers and some custard/frosting in between. It is not the traditional Tiramisu custard in the sense that I did not use Mascarpone cheese at all. Omitted that all together and instead just used home whipped cream along with the egg custard to give it some volume and lightness. But if you do have some Mascarpone cheese to spare, then by all means add that instead of the whipped cream. It would result in a richer and creamier custard.
The layers in this cake synced up harmoniously and it just complimented each other just perfectly. Just like a regular Tiramisu, it is best eaten the next day, being in the refrigerator overnight marries all the layers and flavors well.
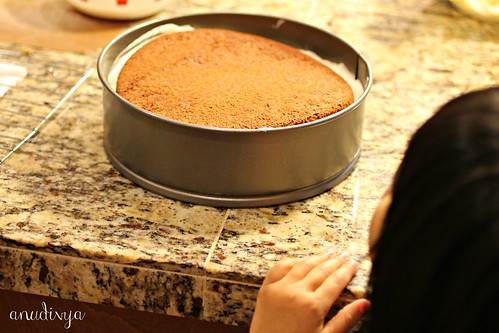
The littlest person in the house was ready for a tasting even before I could get it all assembled. She went on "repeat" with "Can I eat it now?" for the whole time I spent making it.
And she ended loving it! Yippie!
Tiramisu Whole Wheat Layered Cake
Ingredients:
For the custard/frosting:
Eggs - 5
Sugar - 3/4 cup (Or a 1/4 cup more if you want it sweeter)
Pure Vanilla - 1 tsp
Whipping cream - 1 cup
For the ladyfinger's layer:
Lady fingers - 10-12 (more or less depending on the size of the pan)
Instant Coffee - 2 tsp
Warm water - 1 cup
For the cake:
Whole wheat pastry flour - 1 cup
All purpose flour - 3/4 cup
Cocoa powder - 2 tbsp
Vegetable oil - 1/3 cup
Eggs - 2 large
Sugar - 1 cup
Water - 1 cup mixed + Instant coffee - 2 tbsp (mixed together)
Baking soda - 1/2 tsp
Pure vanilla - 1 tsp
Method:
For the cake:
Preheat oven to 350F.
Mix both the flour, baking soda and cocoa powder and keep aside.
Beat the oil and the eggs till the eggs become light in color. Add the sugar and whisk well.
Add the water to the instant coffee powder till well combined. Mix into the egg mixture along with the vanilla.
Slowly add the dry ingredients to the wet and whisk just until well combined. Do not overmix.
Pour into a 8" round pan and bake at 350F for about 40 min or until a toothpick comes out clean.
Remove from pan after baking and set it down on a cooking rack till the cake is completely cool. You may alternatively set it in a refrigerator after it reaches room temperature.
After chilled, removed and slice the cake into two halves. Set aside.
For the custard/frosting:
In a double boiler, in a simmer, whisk the egg yolks and sugar on the top bowl till it is pale in color. Add in vanilla essence. Cool this thoroughly.
Whip the heavy whipping cream in a large bowl separately and slowly add into the custard mixture.
Whip everything well. Set in the refrigerator to cool.
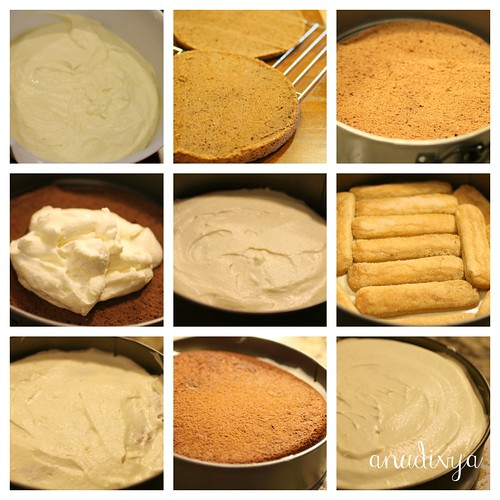
For the assembly:
Take an 8" spring form pan of your choice that will fit the cake perfectly and is about 3"-4" in height.
Lay one half of the cake on the bottom and layer on a-third of the custard/frosting evenly.
Dip the lady fingers in the coffee for the next layer and lay close to each other one by one.
Now, for another layer of frosting/custard.
Lay the other half of the cake and press down gently. Spoon in the last layer of the custard/frosting on top and make sure it is even. Tap down very gently.
Cover the pan with a plastic wrap or a plate and set it in the refrigerator overnight to chill. This is mandatory for best taste and texture.
The next day, sift on some cocoa powder evenly on the cake. Open the latch on the spring form pan. Cut out a slice and enjoy!