This recipe is for a friend who asked me once... "How do you eat brown rice, I just can't seem to get used to it!"
I am sure she would be reading this today :) And I hope I can convert her from White to Brown with this recipe.
Brown rice has a lot of benefits. For one, it is very filling and you would tend to eat less. Well, there's a start!
It falls under the whole grain variety which seems to be recommended a lot these days. You must have seen those "Get more whole grains into your diet for a healthier you" appearing everywhere. If you haven't seen it, then you are looking at the wrong places, er... defnitely not in a fast food place.
So, what exactly is the difference between a brown and white rice, you may ask...
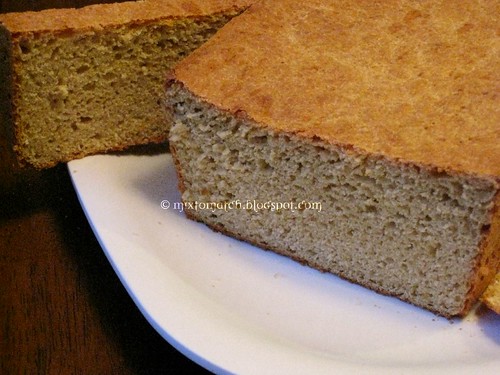
When only the outer husk is removed you get brown rice, and when the inner bran layer is removed you get white rice. Seems simple, but the bran layer is what packs all the nutrients. All that remains is white rice and carbs after stripping the grain of all its actual goodness.
Nutritional benefits of brown rice: They are rich in fiber, fatty acids (that lowers cholesterol), certain vitamins and Iron.
How to prepare brown rice:
If you have a rice cooker, then put it on "Brown rice" setting and forget it. Most modern rice cookers have this setting.
If you are using the conventional method, then wash the rice. Soak in warm water for at least an hour or two. Add water in the ratio of 1:2 (or in some cases 1 1/2). Depending on rice and texture preferences, these ratios might change. Always check your package instructions for how much water is recommended for one cup of rice.
Cook using a microwave cooker or cook on stove top like you would normally do for white rice.
Soaking brown rice is important. It allows germination and making it much more nutritious.
Changing from white to brown, does take time and you may not enjoy the fuller taste and feel of brown rice initially. But if you care more about your health, then more power to you!
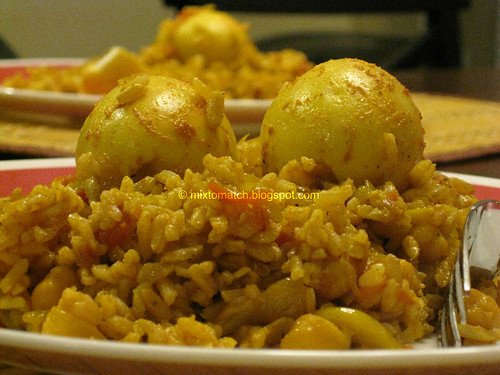
This is a easy recipe to make especially if you are trying out brown rice for the first time. Egg Biriyani is an Indian dish normally prepared with rice, some vegetables and eggs of course.
I added chick peas to give it that added bite and flavor.
This is only kind of biriyani I make at home and I just love it.

Brown Basmati Egg Biriyani with Chickpeas
Ingredients:
Eggs - 4
Brown Basmati Rice - 3 cups
Garbanzo/Chickpeas - 2 cups (canned or soaked and cooked)
Red onion - 2 cups (chopped)
Tomatoes - 2 cups (chopped)
Egg Biriyani masala - 2 tsp
Ginger - 2 tbsp chopped
Garlic - 4-5 cloves sliced
Bay Leaf - 1
Cloves - 2
Turmeric - 1/2 tsp
Curry Leaves - 4 to 5 torn by hand
Pepper - 1/4 tsp
Fried Onions - 2 tbsp (To garnish, optional)
Olive oil - 2 tbsp
Salt - To taste
Method:
Hard boil eggs and keep separately.
Cook brown rice according to package instructions, which includes soaking in warm water and then cooking it with rice cooker or on the stove top.
The cooked rice should be al dente, not mushy. Cool completely.
In a wide pan on medium-high heat, heat oil, add cloves, bay leaf, curry leaves, ginger, garlic and saute well.
Add onions and saute till slightly brown. Add turmeric and salt.
Next add the tomatoes, pepper and saute for at least 5 minutes on medium high heat.
Add the egg biriyani masala and saute again. Add the garbanzo/chickpeas and mix well. Let the chickpeas cook for a while in the masala.
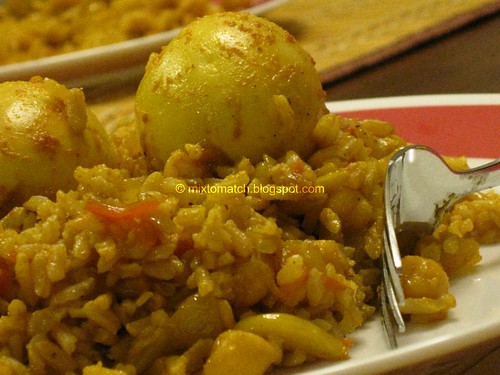
Score the eggs with a knife, or split them in half and add it to the masala.
At any point if you think the masala is too thick, add a little water. I normally don't do this, since the rice tends to become soggy when mixed together.
Turn off heat and then add the cooled cooked rice and mix well with a little oil to keep the rice grains separate.
Make assessment as to how much rice will be needed for the masala you make. Add more or less rice according to taste and heat level.
Mix thoroughly. Just before serving, add the fried onions and serve it along with yogurt raita.
This dish goes to:
Alexandra's Chefspiration's Healthy Choices
Ms's JFI Chickpea
Sudeshna's Harvest: The Festival of Rice