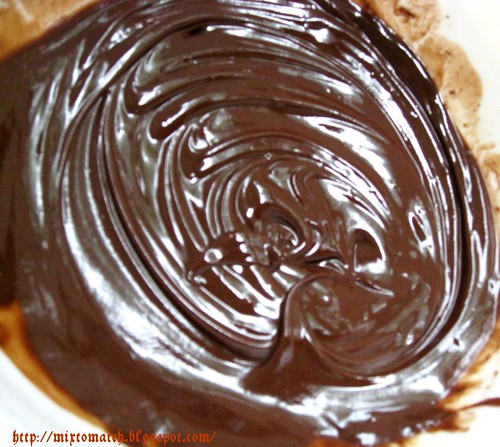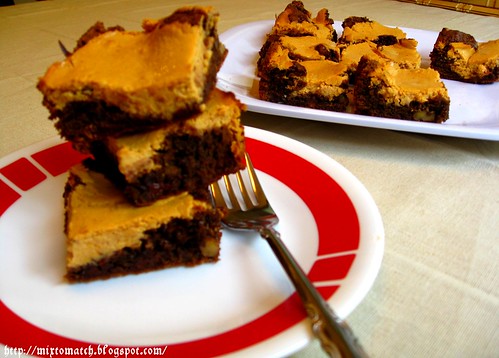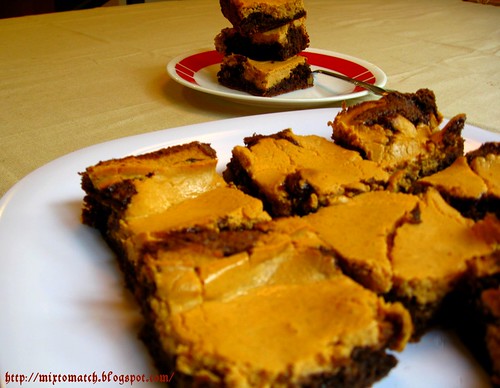
Any good food photographer will stress the importance of good lighting when one is doing food photography. (I am not one!) But what does a person like me do when the sun just won't shine???
With the cold gloomy winter setting in (if you have ever been/lived in the Pacific NW, then you would empathize with me) , taking photographs of food is getting challenging every day. I just have a normal digital camera, and I am so lost.
I have seen the food lighting project in a few blogs, but I just haven't got around to figuring it out, unless someone would do it for me. ;)
And the "white balance" feature in the camera just makes the food look eerie. LOL.
I would love to hear from you, how do you take good pictures when the right amount of lighting is not there?
I will update this post with good suggestions and ideas as I get them, that way everyone can benefit.
Few Updates: (For the rest, pls check the "comments" section)
I would have loved to link back to you guys (like I normally do), but the "post options" is screwed up right now in blogger! So frustrating!
"Priya of Akshayapatram": Lighting is a major problem and you can never beat good sunlight. I made the lighting system based on Lowel ego lights following Jai's instructions. It works very well, but I find it bulky to move around my apartment, as I don't have a dedicated place to set it up in. For now its lying on my bedroom floor and I usually don't have the patience to carry the food there to set it up and take photos. So size it based on your needs.
I have been managing at my kitchen counter with the tube lights ON,white light is the best! Planning on getting a smaller lamp that will be brighter, use a thin paper to diffuse the light coming out of table lamps though to avoid its harshness. You could also make use of the thermacol pieces that come with packages to bounce the light off surfaces to get good shadows/even lighting.
And then there is always an editing/post processing software to help you out a little. If you have a decently good capture, you can make it work by adjusting the brightness/contrast/exposure settings on it.
"Purva of Purva's Daawat": Softwares like picasa helps you making adjustments in the brightness of your picture.
"PG of My Kitchen stories": Try to optimise the colour balance in Adobe photoshop. It does no magic, but you can improve them a bit.
"Nirmala of Passionate Trials": Install a photo editor like Gimp (free) or Photoshop and you can add brightness to your photos very easily.
"Uma of Essence of Andhra": When you want to take a picture at night, just switch off the light in the room! Then switch on the flash of the camera and click the photo. You'll definitely get a perfect picture. I clicked a few pictures using this method and they are just perfect and bright. Will post those pics soon!
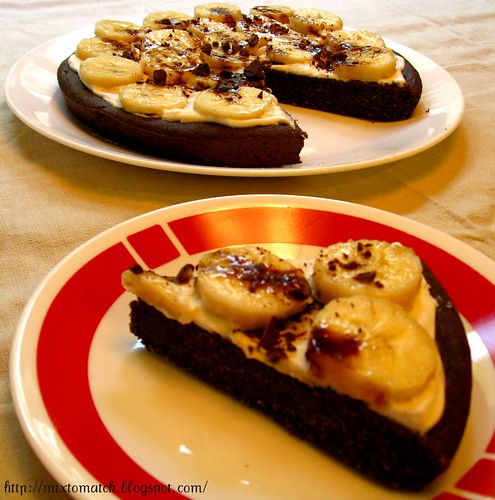
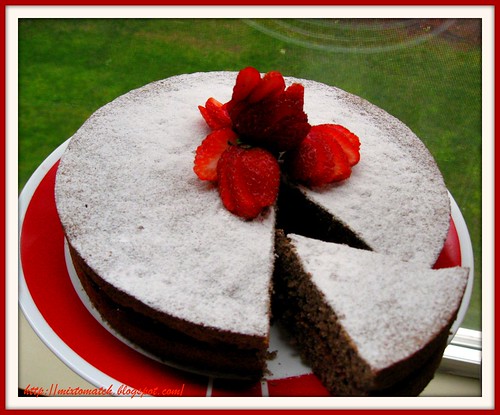
Cake, my dear loving cake... (I had ample sunlight when I took these pics, so I am not complaining about this one)
This is a cake modification of the
"Austrian Linzer tart" recipe, and I have tried to take on a guilt free variation with a "no-butter", and "less-sugar" version made entirely with 100% whole wheat flour. What better than indulging in a cake without having to worry about your waistline!
Whole-wheat Chocolate Linzer cakePreheat oven to 350F. Grease 2 round cake pans (maybe 8-9" diameter)/line them with parchment paper.
Dry Ingredients:
100% whole wheat pastry flour - 3/4 cup
(Try not to use the regular whole wheat flour, unless you want a very dense cake)Cocoa powder - 3 tbsp
Baking powder - 1 tsp
Salt - 1/4 tsp
Wet Ingredients:
Whole almonds - 2/3 cup
Vegetable oil - 2 tbsp
Skim milk - 2 tbsp
Almond extract - 3/4 tsp
Large eggs - 4 (Separated, meaning white and yolks in separate bowls)
Sugar - 3/4 cups
(I use a little less)Vanilla essence - 1 tsp
For finishing:
Strawberry preserves - 3/4 cup
Confectioner's sugar - Just enough to cover the top of the cake
Fresh strawberries - As many as you like!

Method:
Sift all the dry ingredients together and set aside.
Take the egg whites and beat them on low speed in a hand mixer till soft peaks form, slowly add 1/4 cup sugar and beat till you get stiff peaks.
Grind the almonds in a food processor, then add the milk, almond extract and vegetable oil and pulse till it forms a wet mass.
Beat the egg yolks & 1/2 cup of sugar separately in a bowl till the mixture turns pale yellow and creamy. Add vanilla essence.
Now add the almond mixture and mix till incorporated with the egg yolk mixture. Then add the flour mixture and fold/mix evenly.
Add one-third of the beaten egg whites and fold into the above mixture. Do not beat/whisk (as tough as it may be), then add the rest of the egg whites and fold till the batter looks even.
Divide equally into the two prepped pans and tap gently to settle the air bubbles.
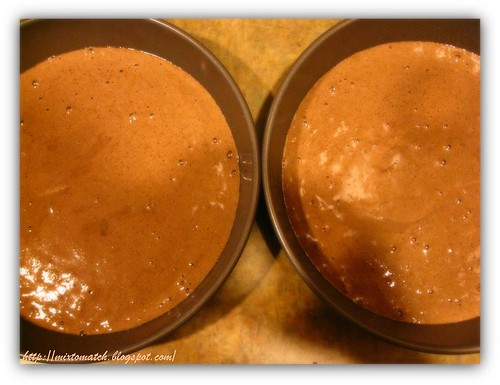
Bake in a pre-heated oven for 10 min, turn the pans midway, then bake for another 10 min.
Cool completely on a cake rack for atleast an hour.
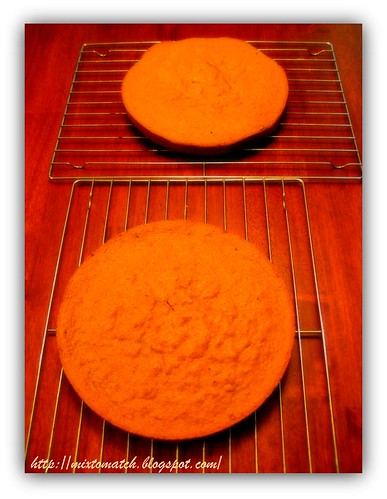
Spread the strawberry preserves evenly on top of one cake, and then place the other cake on top and press firmly.
I did have pre-powdered sugar with cardamom
(Indian spice) and it co-ordinated pretty well with the cake.
Dust the powdered sugar on top and decorate with fresh strawberries. Cut yourself a slice and enjoy!

This goes to:
Aparna's
Blog anniversary Mansi's
Vegetarian ThanksgivingNot Quite Nigella's
The Ultimate Chocolate CakeDK's
AWED American
